
Install, claim, and configure a controller in three clear stages.
Go from unboxing to a working site in three clear stages. Check your hardware, connect the essentials, and complete commissioning online.
Identify the model printed on your controller or order: Pro OM1, Pro EDS, Light M1S, Home M2S or Ultra. Compare its connections, power supply and mounting hardware before preparing the installation.
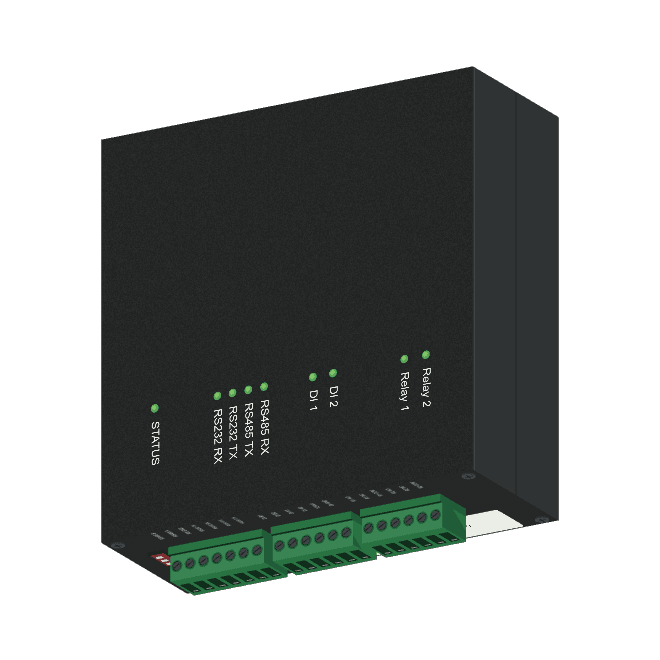
Model OM1
Pro controller with relay contacts and digital inputs. Requires a 12 V DC, 2 A supply. Check the supplied adapter and mounting hardware against your order.
View specifications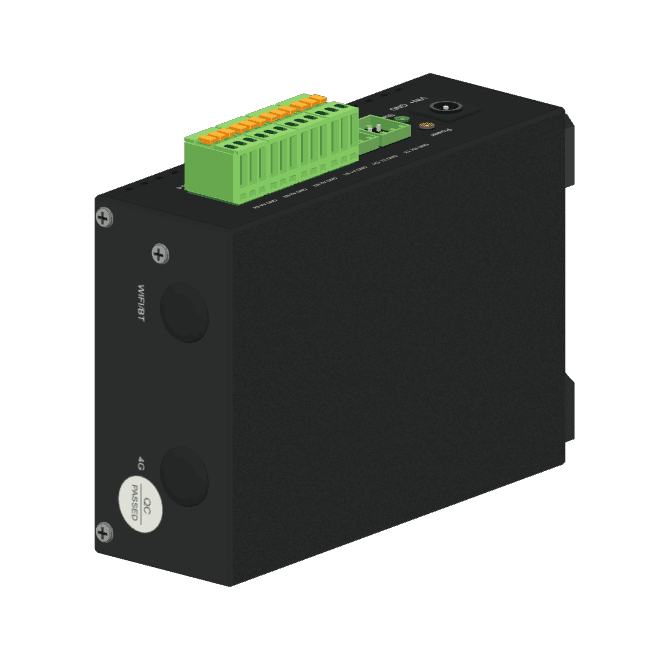
Model EDS
Pro controller for installations with several wired Modbus RTU devices. Supplied with an AC power adapter and DIN-rail clip. A wall-mount bracket is available separately.
View specifications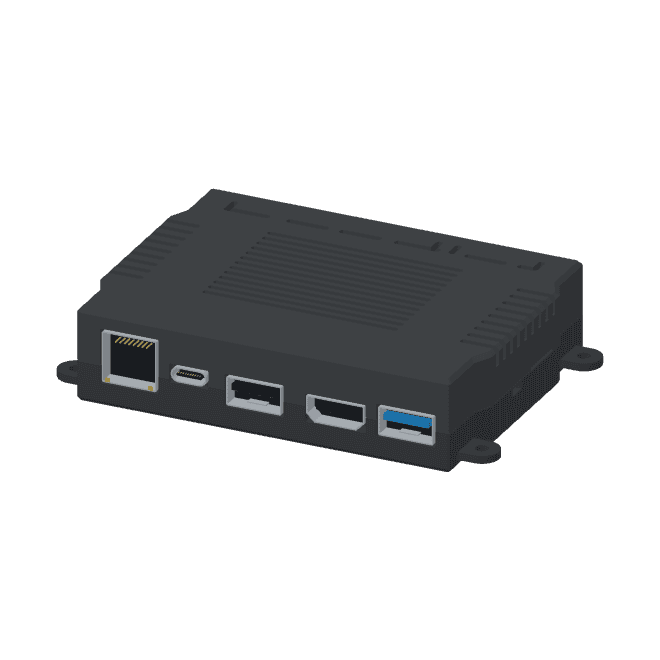
Model M1S
Compact controller for Ethernet-connected energy devices. Supplied with an AC power adapter. Add an RS485-to-USB converter when you need a direct Modbus RTU connection.
View specifications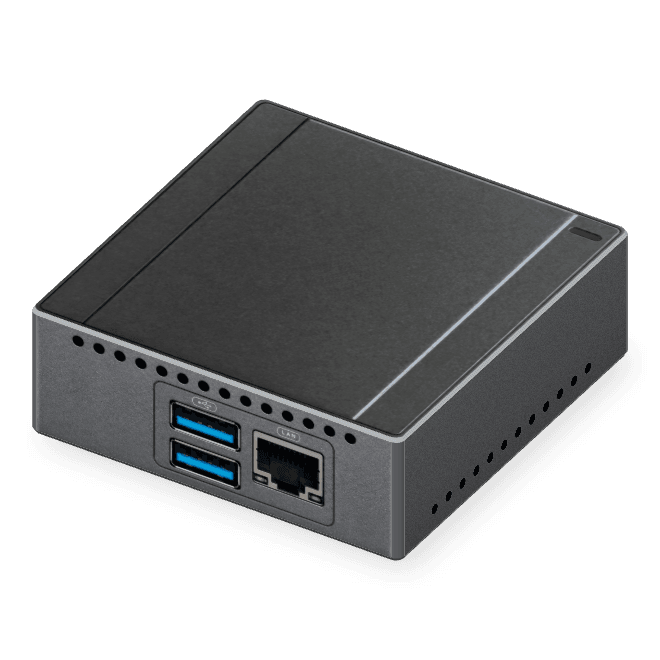
Model M2S
Compact metal controller for homes with a grid connection up to 40 A. Wall and DIN-rail mounting hardware are included; the software licence is selected separately.
View specifications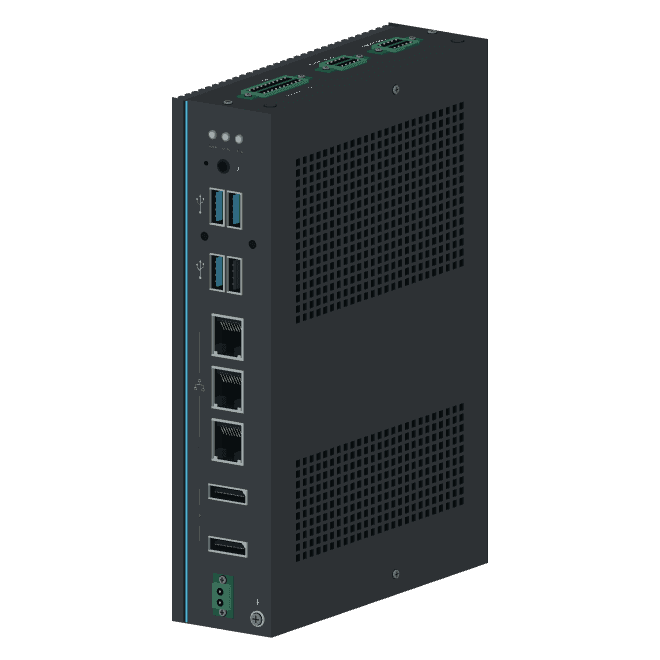
Model ULT
Controller for commercial, industrial and utility energy systems. Use a 12–36 V DC supply and mount it vertically on a DIN rail. Its digital outputs are not relay contacts.
View specificationsPackage contents can differ for older controller models and order-specific bundles. Compare the delivered hardware with your order confirmation before travelling to site.
Accessories are not required for every installation. Match them to the meter, communication method, controller model, and mounting location.
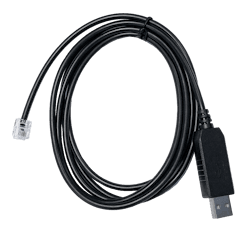
Connect the controller directly to the user port of a compatible smart or digital meter.
EDS, M1S, M2S and Ultra with USBRead the accessory guide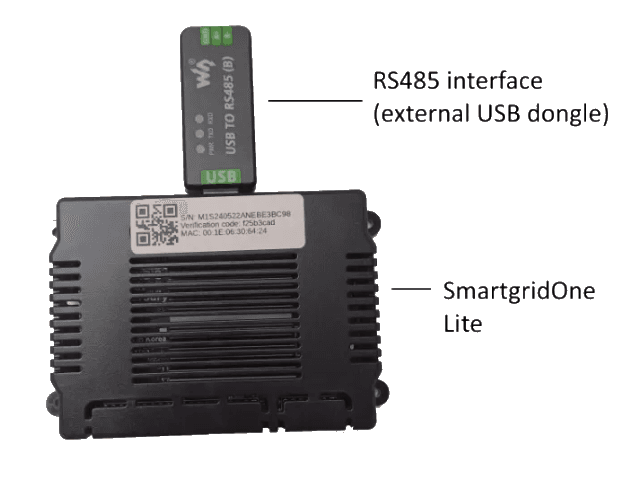
Give the Light M1S a direct RS485 interface for nearby Modbus RTU devices. OM1, EDS, M2S and Ultra already have built-in RS485.
Controller, model M1SRead the accessory guide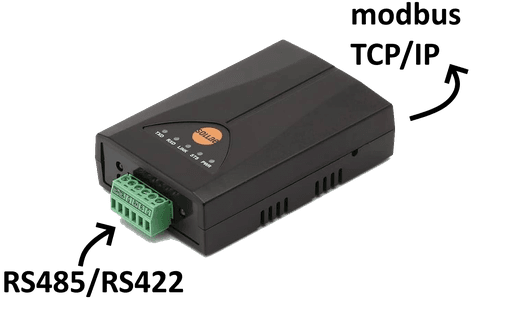
Bring an RS485 device onto the local network when a direct serial cable is impractical.
OM1, EDS, M1S, M2S and Ultra via EthernetRead the accessory guide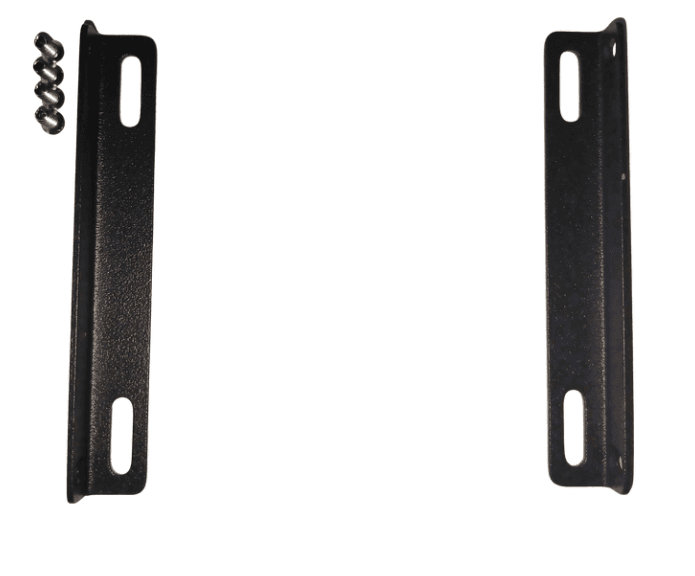
Mount the current Pro EDS model to a wall when the standard DIN-rail clip cannot be used.
Controller, model EDSComplete these checks before mounting or powering the controller.
Confirm that every inverter, meter, battery, charger, or heat pump is supported.
Use an installer account that can claim and configure the controller.
Prepare a live Ethernet connection with DHCP and the required outbound ports.
Provide a supported grid meter or an active P1/A1 user port.
Use the supported device guides to confirm the required interface, wiring, and device settings. To claim and configure the controller, you also need an installer account for Portal.
For accurate grid measurements, connect directly to the P1/A1 user port of the digital meter whenever possible. An energy meter already connected to another device, such as a hybrid inverter, generally cannot also be used by the controller.
Installations in Belgium: the P1 user port of a Fluvius digital meter is disabled by default. Activate it through Mijn Fluvius. It can take several hours after activation before measurements become available.
Work through these stages in order. Do not start configuration until the controller has power, a wired network connection, and internet access.
Mount the controller and connect every physical interface before applying power.
Add the controller to your installer account and complete the built-in commissioning wizard.
Give the customer access only after commissioning and functional checks are complete.