MidTeQ PULSE logo
MidTeQ PULSE logo
Accessories
AppCertificates
Configuration from A to Z
1. Link to your account2. Accessing commissioning interface3. Grid limits4. Location / address5. Add grid energy meter
8 Local Control Modes
9. PV panel configuration10. External control signals
11 Extra Information
BackupBattery maintenance chargeConfiguring a fixed IP address in WindowsData usageDC-Linking Inverters and BatteriesDirect relay or switch controlEnergy CostsEnergy storage and EVsFactory resetPhase imbalance correctionPredictionsPrioritiesRescale energy meter readingsReverse energy meter readingsTesting and manual overrideUser management
Control response time
Customer Specific
EMS
InstallationNetworkQuick StartSafety, maintenance and legal noticesSpecificationsStatus LEDs
Troubleshooting
Wiring & connectivity guidelines
Configuration from A to Z11 Extra Information

Windows 11

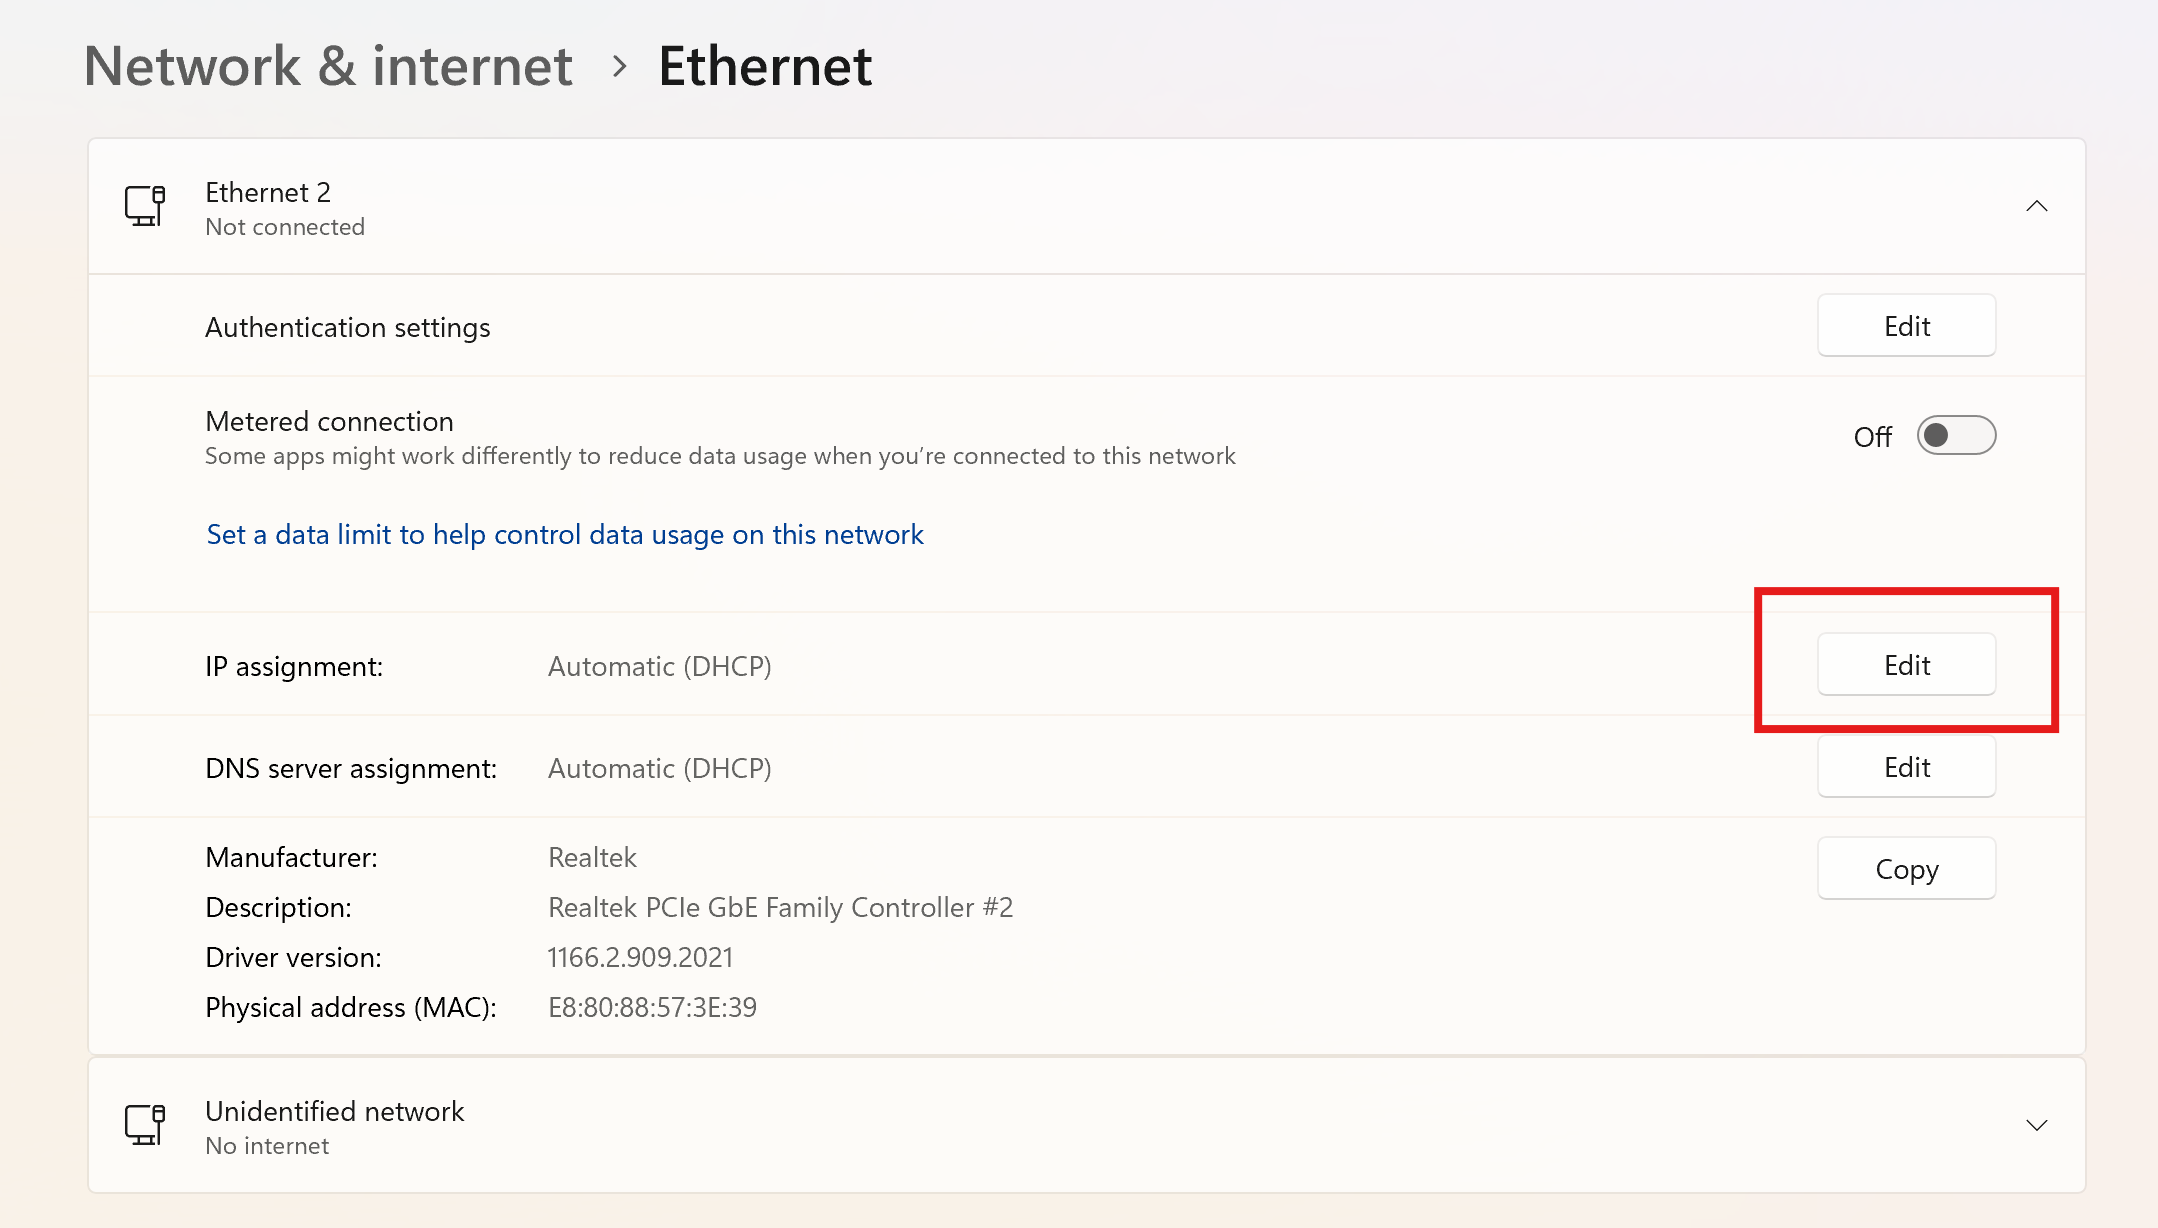
  1. Open the Settings app of Windows, go to "Network & Internet" and click on "Ethernet".
  2. Open the dropdown menu of your ethernet interface, and click on "Edit" next to "IP assignment"
Powershell start
  1. Set the "IP Settings" to Manual, and give your computer a fixed IP address in the same range as the MidTeQ PULSE. For example, if your MidTeQ PULSE has IP address 192.168.10.2, you should give your computer another IP address in the 192.168.10.x range. Make sure that the IP address you choose is not used by another device on the same network!
Powershell start
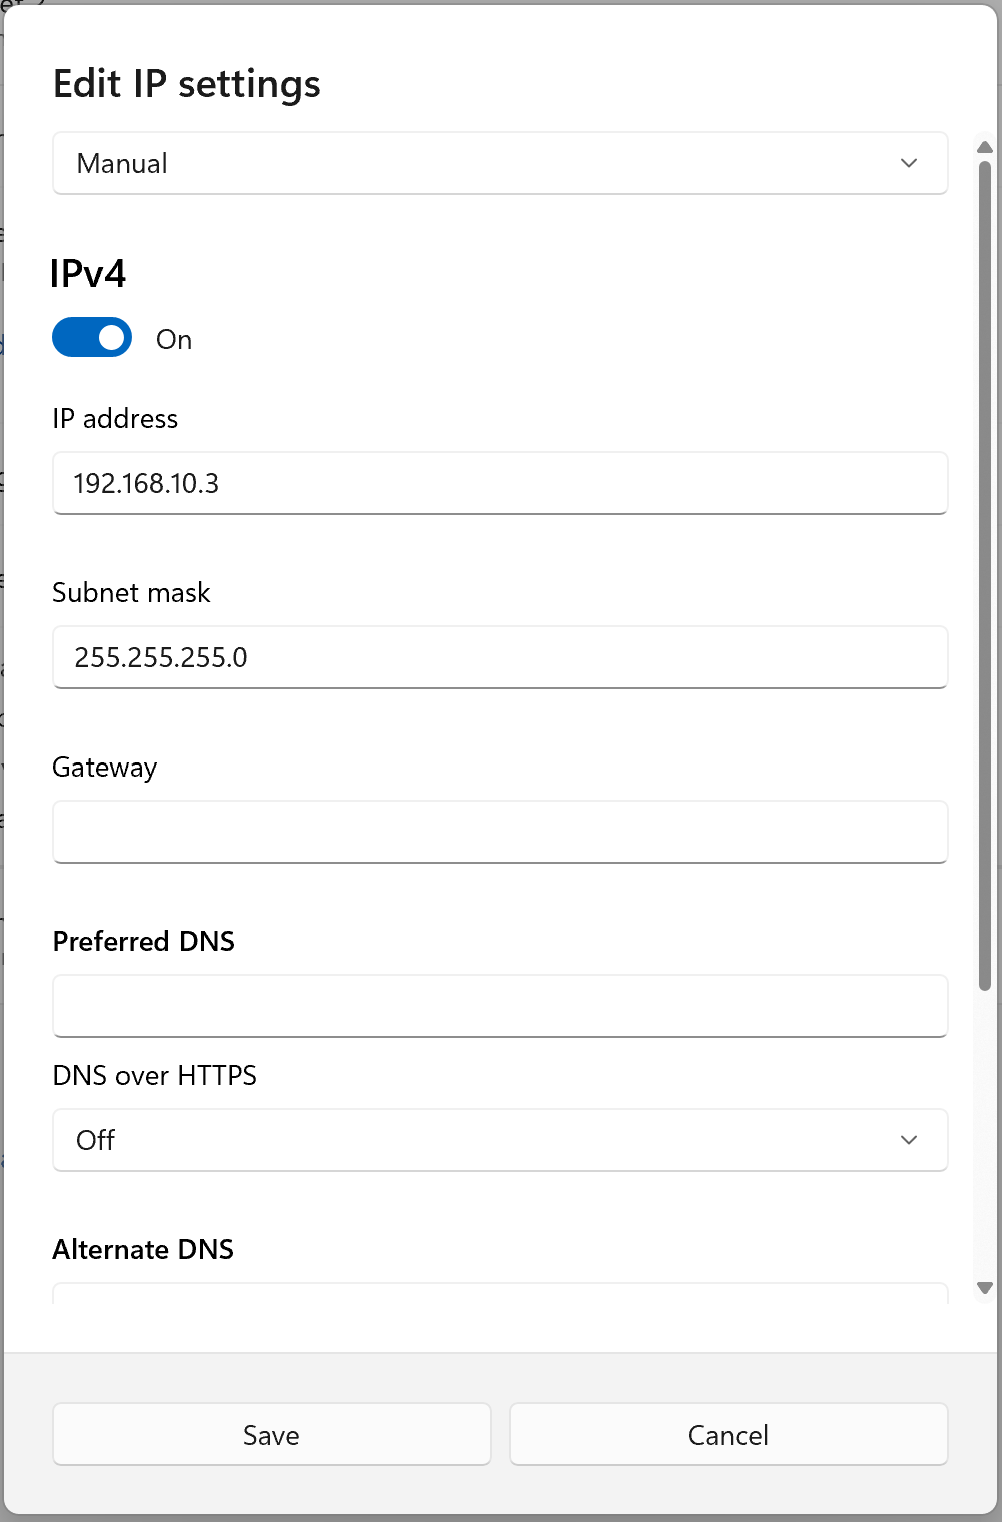
  1. Click save. You can now surf to the IP address of the MidTeQ PULSE in a web browser to access the commisioning interface.
  2. When you're done, don't forget to put your ethernet interface back on "DHCP".
Last updated December 10, 2025Edit this page

Battery maintenance charge

Previous Page

Data usage

Next Page

On this page

Windows 11